Discover the Therapeutic Joy of Flower Pot Painting for Seniors | Step-by-Step Guide Included
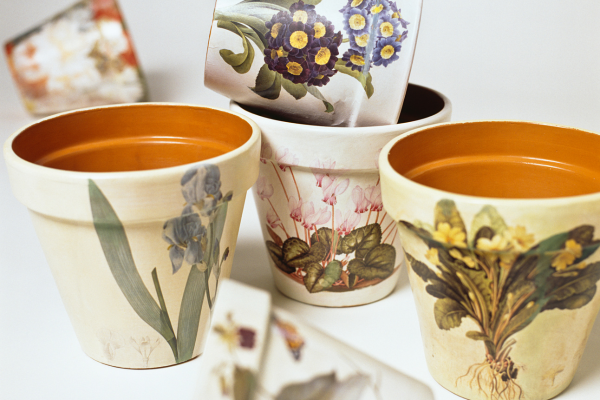
Painting flower pots offers seniors a chance to express their creativity in a fun and accessible way. By experimenting with different colors, patterns, and designs, they can transform ordinary pots into unique works of art. Whether they prefer simple strokes or intricate details, each painted pot becomes a testament to their imagination and skill. But beyond its artistic appeal, flower pot painting provides seniors with various therapeutic benefits.
1. Stress Reduction
Engaging in creative activities like painting can help seniors unwind and alleviate stress. The act of painting allows them to focus on the present moment, promoting relaxation and a sense of calm.
2. Cognitive Stimulation
Painting stimulates cognitive functions such as memory, attention, and problem-solving. As seniors explore different painting techniques and experiment with colors, they exercise their brains and keep their minds sharp.
3. Emotional Expression
Painting provides a medium for seniors to express their emotions and feelings. Whether they're painting vibrant flowers or serene landscapes, the act of creation can be deeply cathartic and uplifting.

4. Social Connection
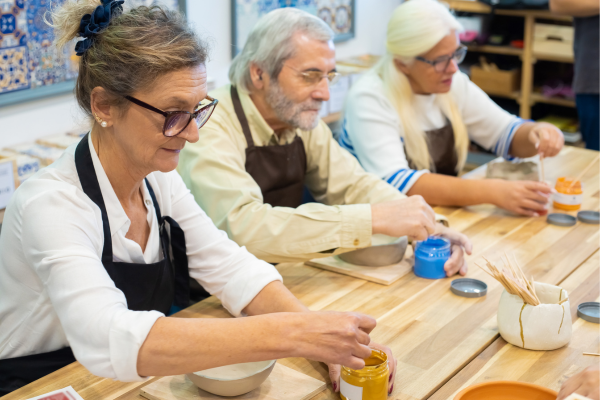
Participating in painting classes or workshops allows seniors to connect with others who share their passion for art. These social interactions provide opportunities for friendship, support, and mutual encouragement.
5. Sense of Achievement
Completing a painted flower pot instills a sense of accomplishment and pride in seniors. Each finished piece serves as a tangible reminder of their creativity and resilience, boosting their self-esteem.
Flower pot painting offers seniors a delightful way to unleash their creativity, relax, and connect with others. Here is a step-by-step guide to flower pot painting! Whether you're a seasoned artist or picking up a paintbrush for the first time, this guide will walk you through the process of transforming plain flower pots into vibrant works of art. Let's get started!

Step 1: Gather Your Supplies
Before you begin, make sure you have all the necessary supplies:
Plain flower pots (terra cotta or plastic)
Acrylic paints in assorted colors
Paintbrushes in various sizes
Water cup for rinsing brushes
Palette or disposable plate for mixing colors
Paper towels for blotting and cleaning brushes
Optional: Paint markers, stencils, or painter's tape for creating patterns
Step 2: Prepare Your Workspace
Find a well-lit and comfortable area to work in. Lay down newspaper or a plastic tablecloth to protect your workspace from spills and splatters. Arrange your supplies within easy reach so you can focus on painting without any interruptions.
Step 3: Prime Your Pot (Optional)
If you're using terra cotta pots, you may want to prime the surface before painting to ensure better paint adhesion. Apply a thin coat of acrylic primer using a paintbrush and allow it to dry completely before proceeding to the next step.
Step 4: Choose Your Design
Think about the design you want to create on your flower pot. You can keep it simple with solid colors, experiment with abstract patterns, or paint intricate designs inspired by nature. Sketch your design lightly on the pot using a pencil if you'd like a guideline to follow.

Step 5: Paint Your Base Coat
Start by applying a base coat of paint to your flower pot. Use a larger paintbrush to cover the surface evenly with your chosen color. If you're painting multiple pots, you can paint each one a different base color to create a cohesive set.
Step 6: Add Details and Accents
Once the base coat is dry, it's time to add details and accents to your design. Switch to smaller paint brushes to create fine lines, dots, or other decorative elements. You can also use paint markers or stencils for more intricate patterns.
Step 7: Let It Dry
Allow your painted flower pot to dry completely before handling or displaying it. Depending on the thickness of the paint layers, this may take a few hours up to overnight. Once dry, you can seal your masterpiece with a clear acrylic sealer for added protection.
Step 8: Display and Enjoy!
Once your painted flower pot is dry and sealed, it's ready to be displayed proudly in your home or garden. Whether you use it to plant flowers, herbs, or succulents, your hand-painted pot will add a personal touch to any space and bring joy to all who see it.
Overall, flower pot painting offers seniors a delightful way to unleash their creativity, relax, and connect with others. It can have a positive impact on their mental and emotional well-being, contributing to a fulfilling and enjoyable lifestyle in their senior years.


